Design a Visible Watermark
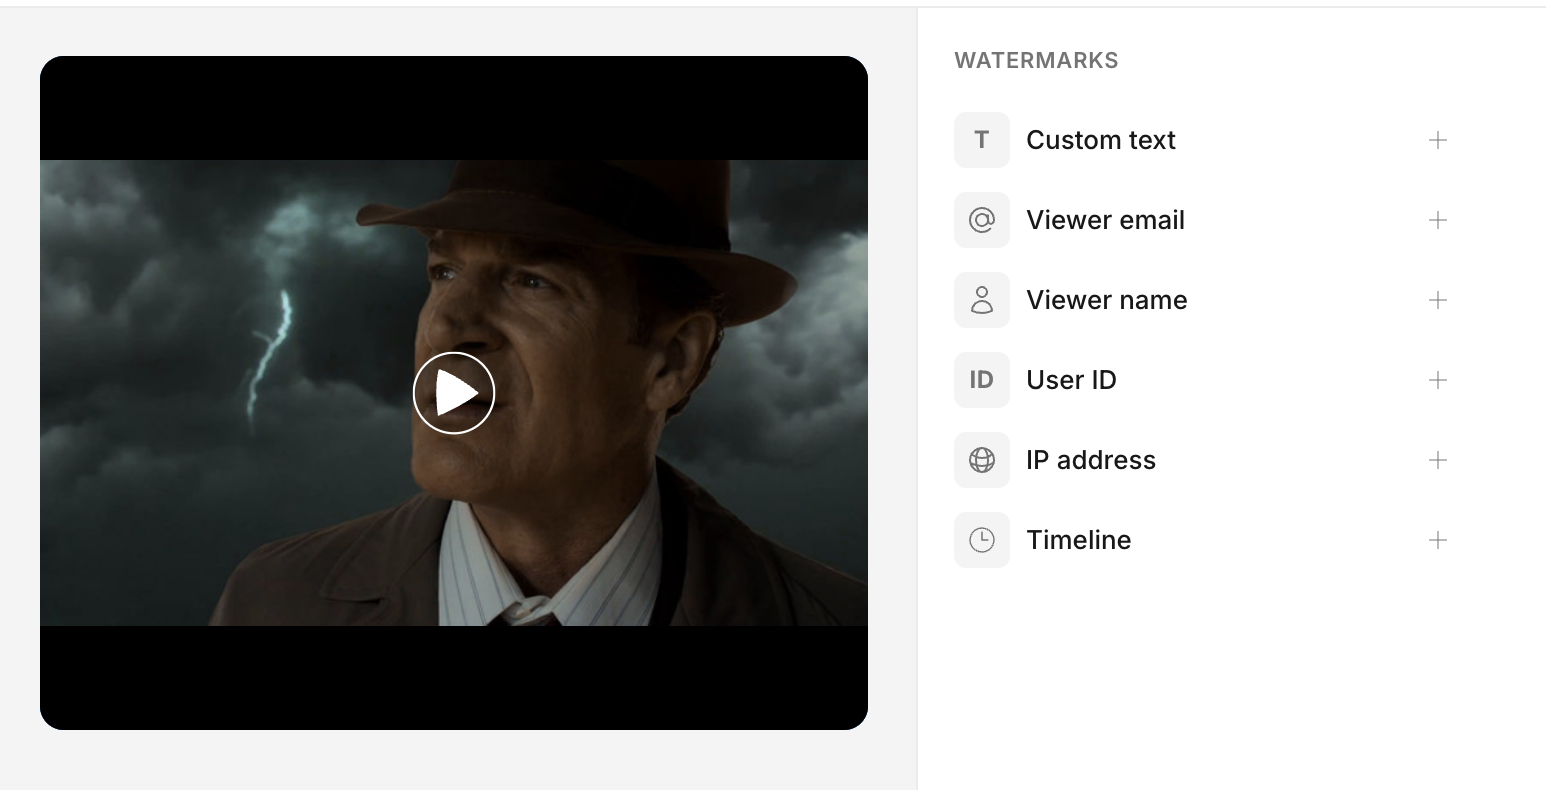
Turn on the Visible Watermarking toggle (see Set Up Asset Protection), then click Configure Watermark (just below the toggle) to open the watermark editor and design the overlay that appears over the video. You can also open the editor before enabling the feature, in which case a banner prompts you to turn it on.
Add watermark elements
Add any combination of these elements:
- Custom text - your own text
- Viewer email, Viewer name, User ID, IP address - these fill in automatically with the details of whoever is watching
- Timeline - shows the current playback time
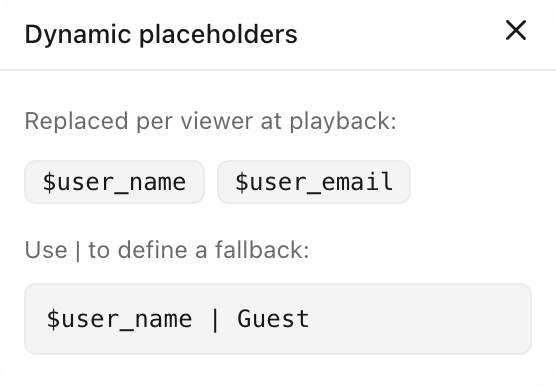
Custom text can include dynamic placeholders that are replaced per viewer at playback: $user_name and $user_email. Use | to define a fallback when a value is missing, for example $user_name | Guest.
Style each element
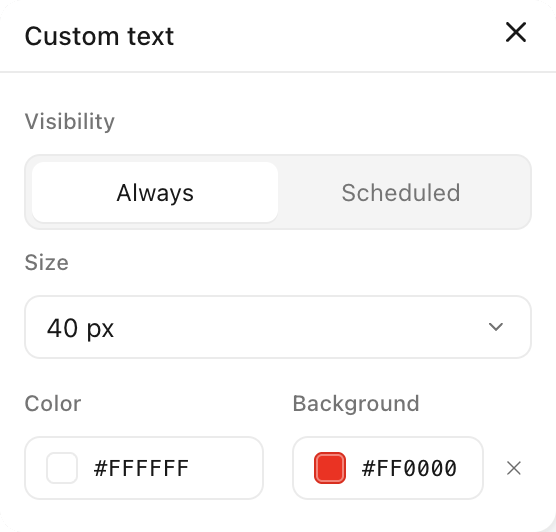
Open an element's settings to adjust:
- Size - from 12 to 60 px
- Color
- Background - set a color or remove it
- Visibility - Always, or Scheduled so the watermark shows on an interval (set how often it shows and for how long, in mm:ss)
Preview and save
Set the preview background to Dark, Light, or upload a frame, and pick an aspect ratio (16:9, 2:1, 2.39:1, 9:16, 4:5, or 1:1). On a video asset, the preview plays the real frame so you can position the watermark precisely. Save when you are done.
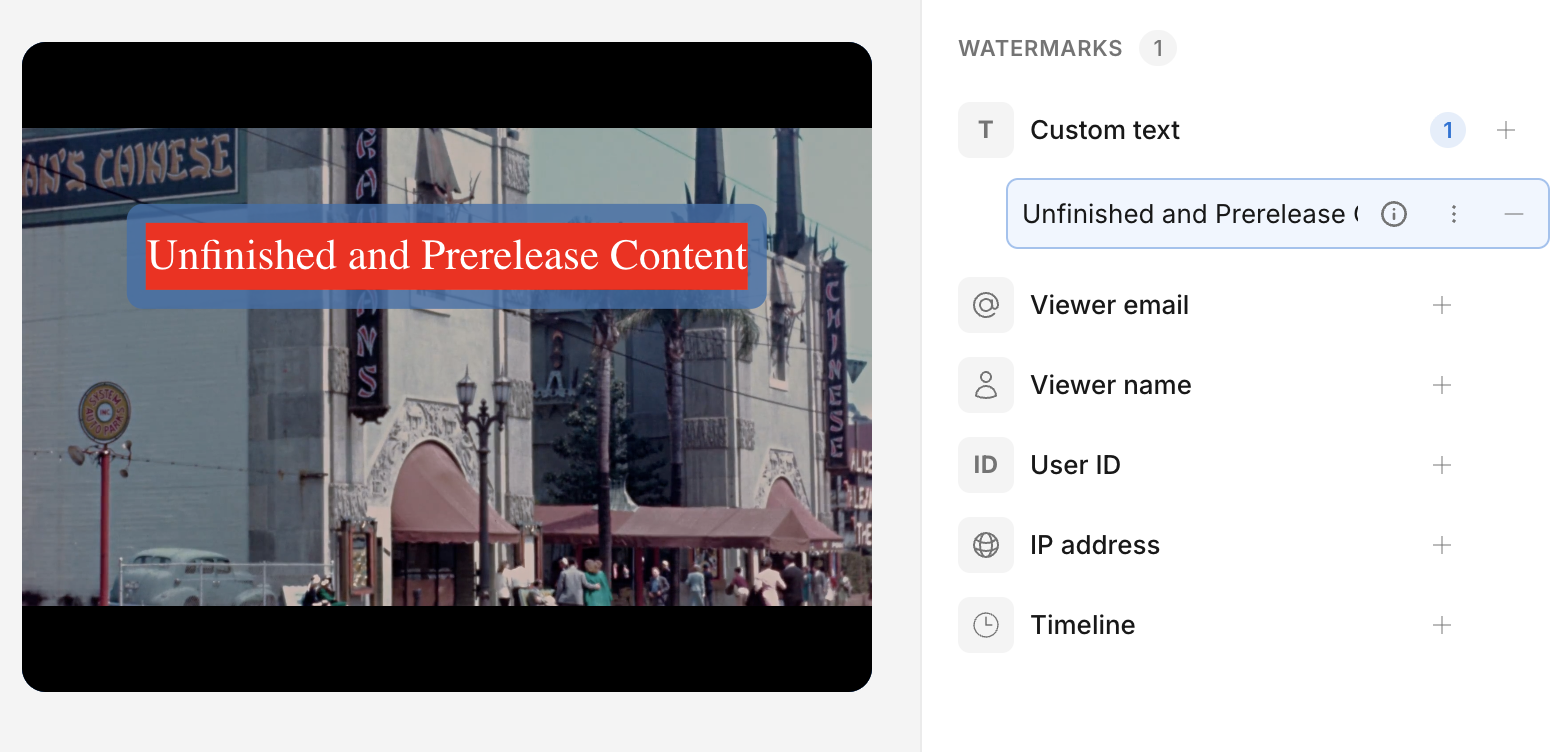
Per-viewer elements like Viewer email are what make a visible watermark useful for tracing leaks: each person sees their own identity burned into the video.