Uploading Assets
Uploading brings your media into a folder so your team can review it. MediaBench accepts video, image, camera RAW, audio, document, and subtitle files, and processes each one for streaming and review after it lands.
Supported file types
Drag any of these formats into the upload window. Files outside these types are rejected.
| Type | Formats |
|---|---|
| Video | ARI, AVCHD, AVI, FLV, M2V, M4V, MKV, MOV, MP4, MPE, MPEG, MPG, MTS, MXF, SWF, VOB, WEBM, WMV |
| Image | JPG, JPEG, PNG, GIF, BMP, WEBP, AVIF, TIFF, TIF, PSD, PSB, AEP, EXR |
| Camera RAW | 3FR, ARW, CR2, CRW, DCR, DNG, ERF, FFF, IIQ, KDC, MEF, MOS, MRW, NEF, NRW, ORF, PEF, RAF, RAW, RW2, RWL, SR2, SRF, SRW, X3F |
| Audio | AAC, FLAC, MP3, OGG, WAV |
| Document | AI, EPS, DOC, DOCX, XLS, XLSX, XLSM, PDF, XML, EDL, AAF |
| Subtitles and captions | SRT, ITT, VTT, CAP |
Upload files
- Select the folder you want to add to
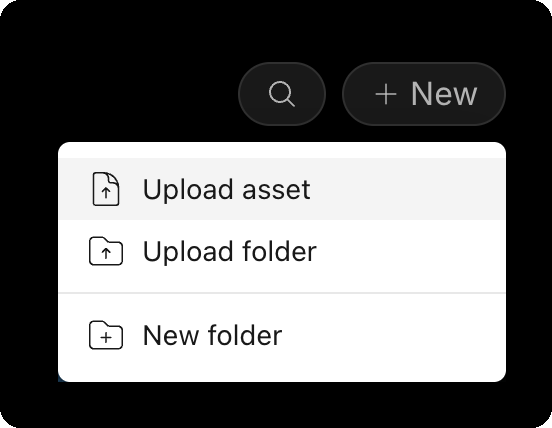
- In the menu bar, click + New and select Upload asset
- Drag and drop files into the upload window, or click browse files
- Click + Add more to queue additional files
- Select Done
Your assets appear in the folder right away. You can keep adding more later by repeating these steps.
Upload options
Expand Upload options in the upload window to control how each upload is processed. These settings lock while an upload is in progress.
Audio tracks
- Keep discrete tracks - keeps all original audio channels as separate tracks
- Mix for streaming - creates a playback-friendly mixdown
Asset protections
- Forensic Watermarking - embeds invisible, session-level identifiers for traceability